The Asphalt Shingle Roof Installation Process Explained Step by Step
People searching for asphalt shingle roof installation are typically seeking reliable local contractors who can expertly handle the step-by-step process of installing a durable, long-lasting roof.
Understanding the asphalt shingle roof installation process explained step by step can provide property owners with valuable insight into what to expect when considering a roof upgrade or replacement. Whether planning for future maintenance or simply wanting to learn more about how professional contractors approach this task, having a clear picture of each stage can help make informed decisions. Property owners in the area often explore this topic to ensure their homes are protected with durable, reliable roofing solutions, and knowing the process can also aid in selecting the right local contractors for the job.
Local contractors who specialize in asphalt shingle roof installation bring practical expertise to each phase of the process, from initial preparation to final inspection. They understand the importance of proper installation techniques to ensure longevity and performance, making it easier for property owners to find trustworthy service providers. As you read through the steps involved, keep in mind that experienced local service providers are ready to handle the work efficiently, helping to ensure your roof is installed correctly and built to last.
- Residential homeowners - when replacing an aging roof, local contractors can efficiently manage the asphalt shingle roof installation process explained step by step.
- Property managers - seeking to upgrade or repair multiple buildings, they rely on service providers to handle the asphalt shingle roof installation process explained step by step.
- New home builders - during construction, local pros can implement the asphalt shingle roof installation process explained step by step to ensure proper roofing setup.
- Roof repair clients - needing to replace damaged shingles, they turn to local contractors familiar with the asphalt shingle roof installation process explained step by step.
- Commercial property owners - planning roof replacements or upgrades, they look for service providers experienced in the asphalt shingle roof installation process explained step by step.
When homeowners search for the asphalt shingle roof installation process explained step by step, they are often looking to understand what to expect during a roof replacement or new roof installation. This topic is closely related to projects involving roof repairs, upgrades, or complete overhauls, especially when the existing roofing system has reached the end of its lifespan or has sustained damage. Many property owners want a clear picture of each stage involved, from initial preparation to final inspection, to ensure they are making informed decisions and working with qualified local contractors. Understanding this process helps homeowners anticipate the scope of work, identify potential issues early, and feel confident in the professionalism of the service providers they consider.
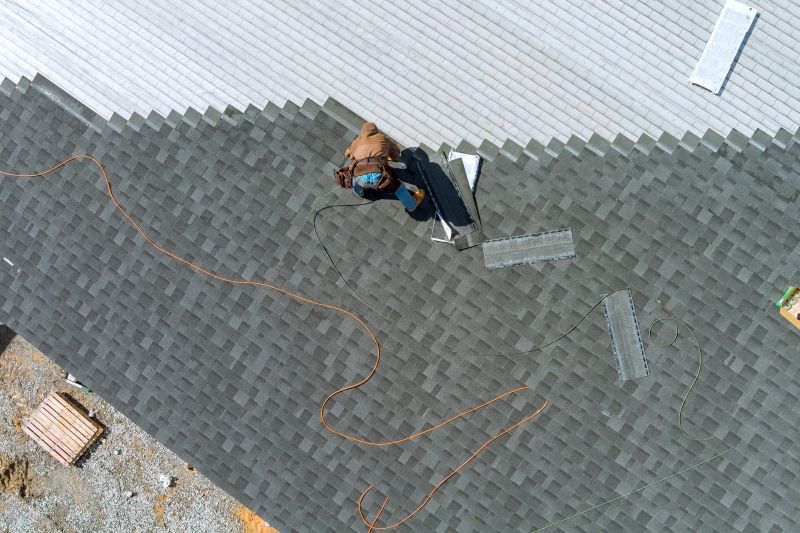
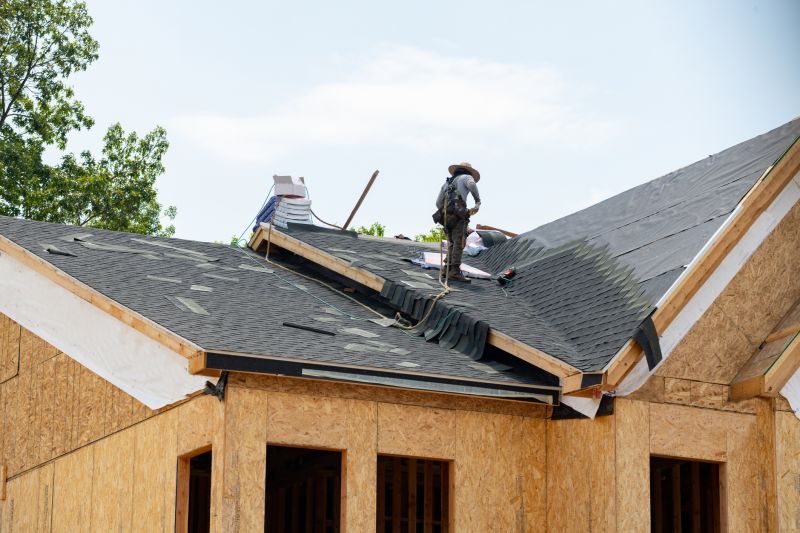
The process typically begins with a thorough assessment of the existing roof and property, where local pros evaluate the current condition, measure the roof area, and discuss material options. Once plans are in place, the work site is prepared by protecting landscaping and clearing the area of debris. The removal of the old roofing material is a critical step, which involves carefully stripping away damaged shingles and underlying layers to reach the roof deck. This phase can reveal underlying issues such as rotted wood or structural weaknesses that may need addressing before new shingles are installed. Addressing these problems early helps prevent future complications and ensures a durable, long-lasting roof.
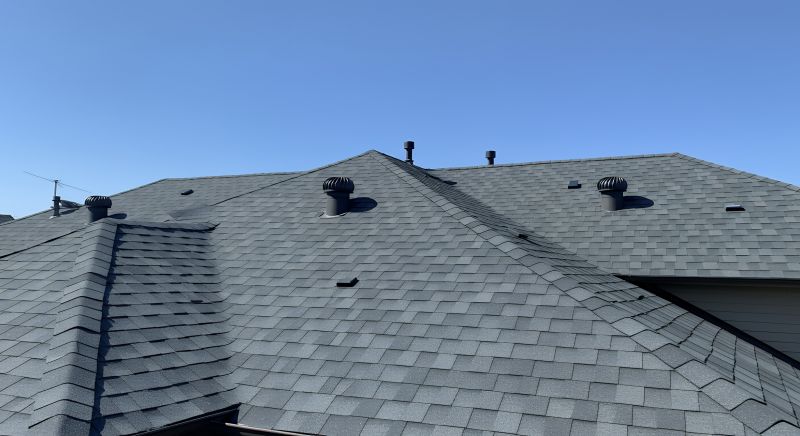
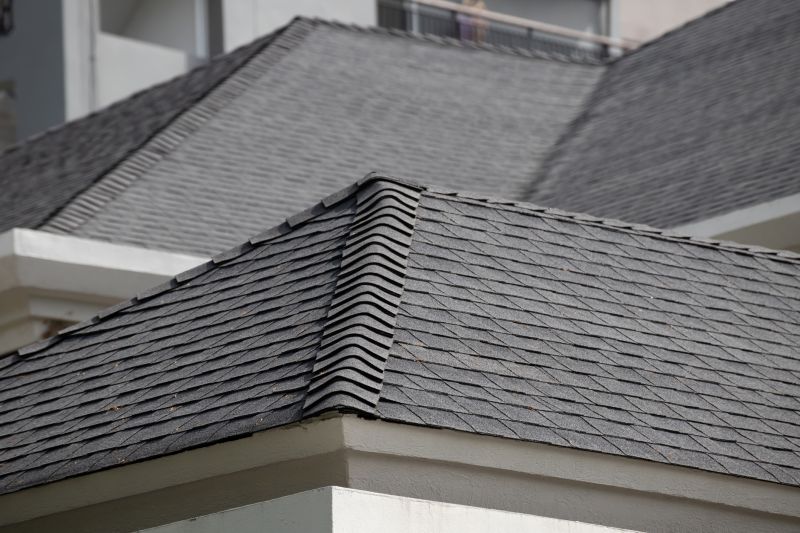
Next, local contractors focus on preparing the roof deck, which involves repairing or replacing any damaged sheathing and installing a waterproof underlayment. This layer acts as a protective barrier against moisture infiltration, especially during inclement weather. The installation of the asphalt shingles follows, beginning at the bottom edge of the roof and working upward in overlapping courses. Proper fastening and alignment are essential to ensure the shingles stay secure and provide a uniform appearance. Additional components like flashing, vents, and ridge caps are also installed to improve ventilation and prevent leaks. Each step in this phase is crucial for creating a resilient, weather-resistant roofing system.
Finally, the installation process concludes with a thorough inspection to verify that all components are correctly installed and meet quality standards. Local service providers often perform a cleanup of the work site, removing any leftover debris or materials. Homeowners are encouraged to review the completed roof to ensure it matches expectations and to discuss any questions with the contractor. Understanding the asphalt shingle roof installation process explained step by step helps property owners appreciate the effort involved and the importance of working with experienced local pros. These professionals bring the expertise needed to execute each phase properly, resulting in a roof that offers reliable protection and enhances the property's value.
Roof Replacement Projects - replacing an existing roof involves similar planning, material selection, and installation techniques as asphalt shingle roof installations, requiring precise work and attention to detail.
Roof Repair Services - repairing damaged roofing components shares skills in assessing roof conditions, handling roofing materials, and ensuring proper sealing, which are essential in the asphalt shingle installation process.
Attic Insulation Installation - installing attic insulation requires understanding of roofing structures and ventilation, complementing the knowledge needed for proper asphalt shingle roof setup.
Gutter and Drainage System Installation - installing gutters involves planning for water runoff, similar to considerations made during asphalt shingle roof installation to prevent water damage.
Roof Ventilation Projects - ensuring proper attic ventilation involves planning and installation skills that are also critical when installing asphalt shingles to promote roof longevity.
Skylight Installation Services - integrating skylights into roofing systems requires careful planning and sealing techniques akin to those used in asphalt shingle roof installation processes.
When evaluating local contractors for asphalt shingle roof installation services, it’s important to consider their experience with similar projects. Homeowners should inquire about the types of roofing jobs they have completed and whether they have handled projects comparable in size and scope to their own. A contractor with a proven track record in asphalt shingle roof installations is more likely to understand the nuances of the process, including proper preparation, material selection, and installation techniques. This experience can help ensure the project proceeds smoothly and meets expectations for durability and quality.
Clear written expectations are essential when comparing local service providers. Homeowners should seek detailed proposals or estimates that outline each step of the asphalt shingle roof installation process explained step by step, including material specifications, preparation work, installation methods, and cleanup procedures. Having this information in writing helps prevent misunderstandings and provides a basis for comparing what each contractor offers. It also ensures that all parties are aligned on the scope of work, timelines, and responsibilities, contributing to a more transparent and satisfactory project experience.
Reputable references and good communication are key factors to consider when choosing a contractor. Homeowners can ask for references from previous clients who had similar asphalt shingle roof installations performed, allowing them to gain insights into the contractor's professionalism, reliability, and quality of work. Additionally, effective communication throughout the process-such as prompt responses to questions and clear explanations of the installation steps-can make the entire experience more manageable. Contractors who prioritize transparency and responsiveness are more likely to provide a positive experience and deliver results that meet the homeowner’s expectations.
Property owners often search for the asphalt shingle roof installation process explained step by step when they are planning practical projects around their homes and businesses. Local pros provide Asphalt Shingle Roof Installation services for everyday jobs and straightforward project options.

The process of installing an asphalt shingle roof involves several key steps that property owners in the area might want to understand before hiring local contractors. Typically, the project begins with removing the existing roofing material to prepare a clean surface. Then, the roof deck is inspected and repaired if necessary to ensure a solid foundation. Once ready, the new asphalt shingles are carefully layered and fastened, following specific patterns for durability and appearance. This step-by-step approach helps ensure the roof is properly installed and can provide reliable protection for years to come.
Many property owners seek out information on the asphalt shingle roof installation process to better understand what the job entails and to choose experienced local service providers. Knowing that professionals handle each step-from preparing the roof deck to applying the final shingles-can give homeowners confidence in the quality of the work. Local contractors who specialize in asphalt shingle installation can guide property owners through the process, providing a clear understanding of what to expect and ensuring the job is done correctly.
What are the main steps involved in the asphalt shingle roof installation process explained step by step? The process typically includes removing the old roofing, preparing the roof deck, installing underlayment and flashing, laying the asphalt shingles, and finishing with proper sealing and inspection. Local contractors follow these steps to ensure a durable and properly installed roof.
How do local contractors prepare the roof before installing asphalt shingles? They start by inspecting and repairing the roof deck, removing existing roofing materials, and installing necessary underlayment and flashing to create a solid base for the shingles.
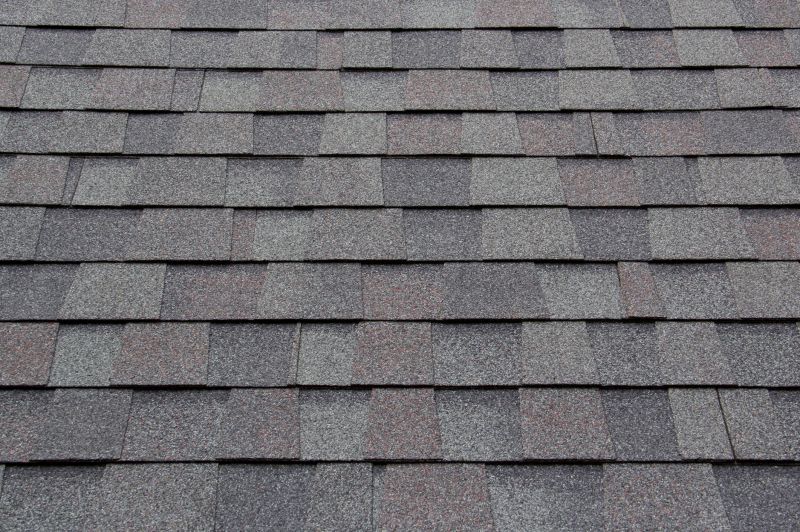
What materials are used during the asphalt shingle roof installation process? Common materials include asphalt shingles, underlayment, roofing nails, flashing, and sealants, all of which local service providers select based on the specific project requirements.
Why is proper underlayment important in the asphalt shingle roof installation process? Proper underlayment provides an additional layer of protection against moisture and weather elements, helping to extend the lifespan of the roof and prevent leaks.
How do local service providers ensure the asphalt shingles are installed correctly? They follow manufacturer guidelines and best practices, including proper nailing, alignment, and sealing techniques, to ensure the shingles are securely attached and perform effectively.
Understanding the installation sequence - property owners can learn how the step-by-step process ensures a durable and properly installed asphalt shingle roof by working with local contractors.
Preparing the roof surface - homeowners might explore how proper surface preparation by local pros helps prevent future issues and extends the roof’s lifespan.
Selecting the right materials - property owners can consider how choosing quality asphalt shingles with the help of local service providers impacts the overall effectiveness of the roof.
Ensuring proper ventilation and insulation - individuals can see how local contractors incorporate ventilation strategies during installation to improve energy efficiency and roof performance.
If you are thinking about the asphalt shingle roof installation process explained step by step for a property, this guide is meant to help you understand this topic, the typical project types, and how different options might fit your plans.
When you are ready, you can use the quote form on this page to share a few details about your project. From there, local pros can review the basics and follow up with options that match what you have in mind.